Cloner - Propagation process by cuttings


Just a heads up, cloning can be tricky, and for even the most experienced gardener, not all cloning systems are full-proof. But by trial and errors, I've been able to pick up some big indicators to help me with having successful future crop (that is practically free).
Steps on how to clone: (takes about two days to start and half a month to see results)
1. Start by chopping off top branches from your plant. These branches should be no thinner than a chopstick. Try not to find a branch too green and flimsy, but also something not too ridged (like the base of the big stem) - something in the middle should be ideal for cloning. While chopping, be sure to wear gloves and long sleeve shirts - the cannabis plant has serrated edged leaves that can cause a rash on the skin.
2. Set the cut branches in water (tap water will do fine). The trick is to keep those branches occupied by taking up a few nutrients from their tissue as they are severed from the mother plant. This also assures the plant will survive transferring into the cloning bin. The water should be cool but not cold, to continue the process of transpiration.


3. When you're done cutting the branches, now's the time to trim the branches to prepare them for the cloner. Trim all but the top leaf and "bud" site. I try to keep a small site of leaves so it can still take up light and continue the process of transpiration. Here's them trimmed up in the cup of water.

4. Now it's time to prepare your cloner. The cloner I use is homemade. I used a storage bin with a lid. The reason I kept it dark was for it to not produce algae. The lid was also glued with aluminum foil to reflect the light upwards. I used a knife and my drill to cut two inch holes to fit my net cups. Once the cutting and drying was done, I cleaned out the bin and filled it with three gallons of tap water. I set an airstone bubbler on the bottom so it can spritz the bottom stems of the plant.
 |
| Cloner setup with foil reflector and six plugs |
 |
| The inside of the cloner, bubbles from the airstone |
 |
| Airstone line going into the reservoir |
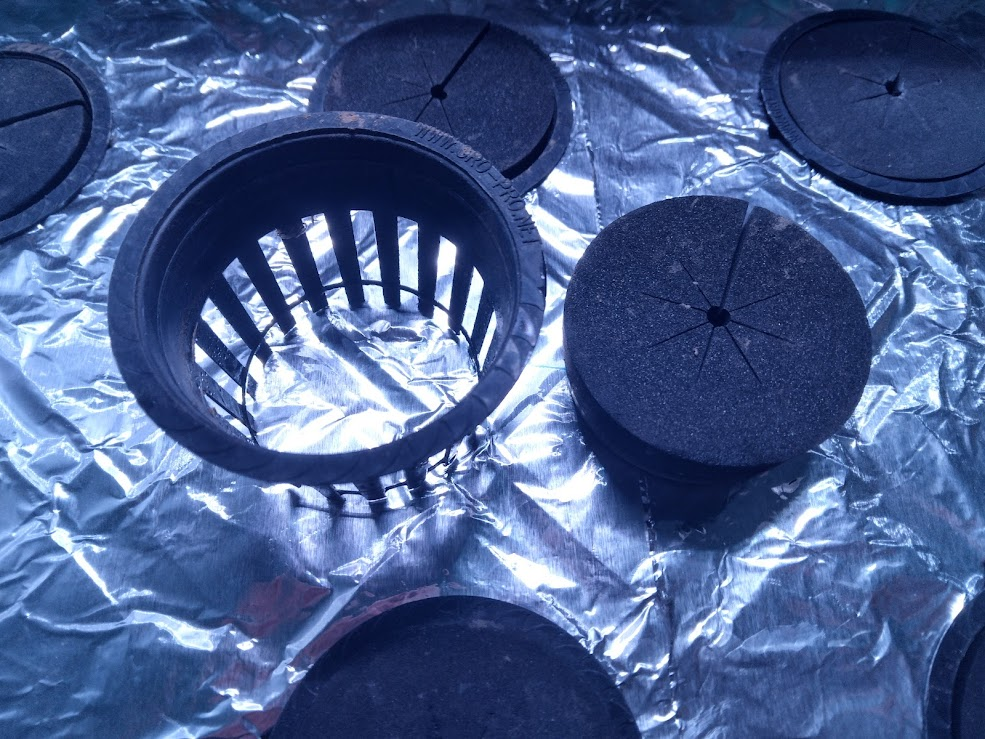 |
| Net pot and foam collar separate |
 |
| Net cup and foam collar together |
The net cups I cut out the bottoms and purchased some foam collars for the stems to sit in.
5. After a day, I checked on my trimmed branches in the cup of water and checked which ones were still "perky" while I discarded the limp branches (the ones that couldn't take up water). If you do happen to have limp branches, it could be the branch itself is too small or too thick with bark. Regardless, you can always trim more branches to replace any cloning spot.
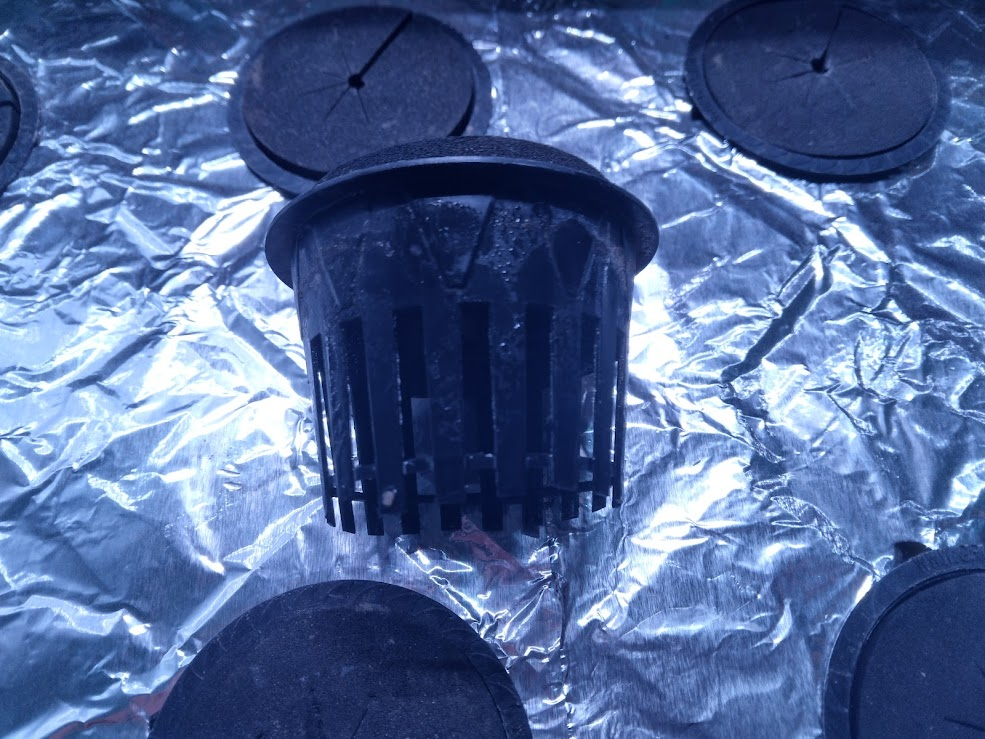
6. Take your foam collars and set your branch in the center, then cap it off with the net pot and set the pot in the cloner. Be sure to check that the cloner's bottom has a little bit of water spritzing up to the foam, which will tell you that the stem's getting enough moisture for growth.
 |
| Stem poking through the foam collar |


7. At the end, be sure to cap the bin with a clear plastic bin and spray some water on the inside to maintain moisture . I've noticed if you keep your plants covered it slows down evaporation and continues the plant's transpiration process.


Now after the cloner's been covered, we wait about two to three weeks and check on the bottoms of each branch for root growth. If your good, you can see roots as soon as 4 days but you should wait until the roots have been fully established before moving them into a DWC or soil system.
If you have any DIY questions about making your own cloner, please let us know. We'd be glad to assist anyone who is having issues with their own propagation techniques.
Have a good day.
-Tumble Inn Hydro


Comments
Post a Comment